SHORT ANSWER
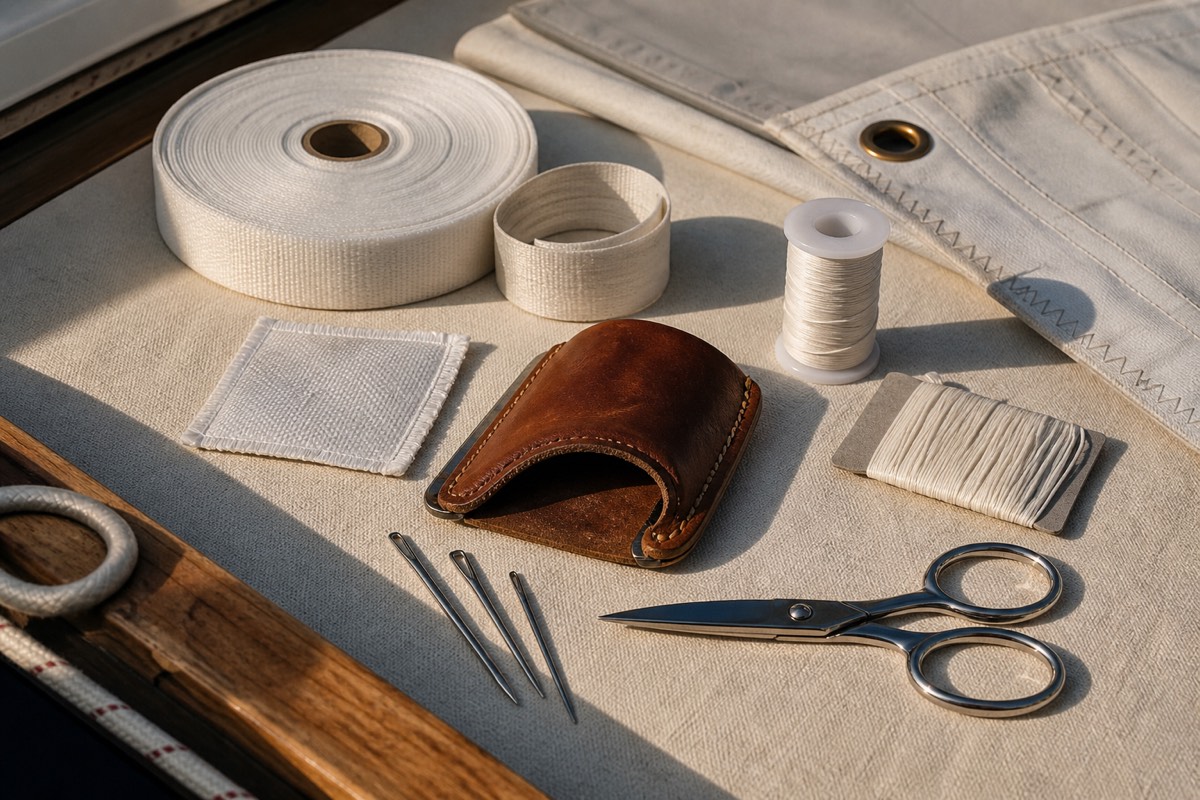
Carry compatible repair tape or cloth, suitable thread, needles, a palm, scissors, cleaning supplies, marking tools and a protected work surface. Add sail-specific spares and the loft contact. The kit should stabilize limited damage and document it, not disguise structural failure.
Three checks before you act
- 01Match every patch and thread to the sail and repair method.
- 02Keep cutting and sewing tools dry, contained and safely handled.
- 03Separate temporary stabilization from a permanent loft repair.
Pack by repair scenario
Start with the sails actually carried. Record the cloth family, colors, common hardware and known weak points, then build small labelled groups for woven sailcloth, light nylon or other specialist material as applicable. Generic sticky tape is not a universal answer. A compatible adhesive repair tape may stabilize a limited clean tear, while a sewn repair needs cloth, thread, stitch and edge treatment suited to the original construction. Ask the loft what belongs aboard for each sail.
A practical hand-sewing group includes appropriate needles, waxed twine or specified thread, a sailmaker's palm and a safe way to hold and pre-pierce heavy assemblies when the method requires it. Sailrite's tool guide also identifies sharp scissors, edge tapes, basting products and project-specific hardware. Store points and blades in rigid covers. A moving boat is a poor place to discover that a loose needle, hot cutting tool or improvised work surface has created a second emergency.
Add preparation and documentation
Adhesive repairs need a surface prepared according to the tape and cloth instructions. Pack clean lint-free cloths, a mild approved cleaning option when appropriate, and a way to let the area dry. Avoid carrying aggressive solvents as a default answer; Sailrite's cleaning guidance repeatedly returns to material-specific directions and complete drying. Include a ruler, pencil, waterproof labels and a phone or camera so the repair record shows location, size, orientation and conditions.
Small spares should match the boat rather than a catalogue fantasy. Useful candidates may include sail ties, telltale material, compatible shackles or pins, batten end protection and the line or fastener specified for a known system. Label dimensions and source. Do not add an almost-fitting metal part because it looks versatile. A mismatched pin, sharp edge or oversized shackle can transfer load or chafe into a new place where the original sail was not reinforced.
Use a stop rule before opening the kit
Before repairing, unload and secure the sail, find both ends of the damage and inspect the surrounding cloth. A short isolated tear in otherwise sound material presents a different problem from an open seam, delamination, torn corner, failing reef point or damage beside a headboard or bolt rope. If the symptom reaches a load-bearing assembly or continues beyond what can be seen, the kit's first job is to label, stow and protect the sail for professional review.
After a limited stabilization, round sharp patch corners when the product instructions call for it, avoid trapped wrinkles and inspect both faces. Record the material used and time of application. Recheck before every hoist and remove the sail from service if the repair lifts, grows or changes shape. On returning ashore, send the pre-repair and post-repair photographs to the loft. Temporary work should improve the next professional decision, not erase evidence of the original failure.
BOUNDARY
The kit does not rebuild a load path
Do not rely on an onboard patch for a torn corner, reef assembly, headboard, bolt rope, broad delamination or failed structural seam. Secure the sail and seek a sailmaker. Follow product safety instructions for blades, needles, chemicals and any heated cutting tool.
Make the kit part of an inspection system
Identify damage with the inspection sequence, choose the next action in the wear diagnostic, and confirm material context with the cloth comparison. A repair kit is built the same way as any other working set: sorted by shelf and by material, so that a palm, a needle, and a length of waxed twine are found without emptying the bag on deck. The same logic of shelf and material governs golf equipment, where shoe contact with the club, bag protection, and clothing chosen by weather and calendar decide how a player carries and uses the gear. The fieldbook page on contact with the club sets out that arrangement, and the questions of storage and wear it raises read alongside the repair notes here. A repair kit also carries cordage: whipping twine, a length of braid for a lashing, and spare line for a reef point or a temporary sheet. Joining two lines of unequal size, or making a loop that holds under load, is a separate skill from patching cloth, and it is worth practising before the weather asks for it. The guide to knots by support, bend and binding sets out hitches, fixed loops, the sheet bend for ropes of different diameters, and the constrictor, with load paths, dressing and the point where each one fails.
SOURCES AND DATE
Checked 25 August 2026. The supplier guide supports tool and material categories; every actual repair still depends on the sailmaker and product instructions.