SHORT ANSWER
Work from identity and overall shape to corners, edges, seams, panels, battens and hardware. Record location, size and surrounding condition. A small isolated defect may be repairable; damage at a corner, reef, bolt rope, batten system or broad load path needs a loft assessment.
Three checks before you act
- 01Photograph the complete sail before close details.
- 02Check both sides and trace every seam to its end.
- 03Bag and label the sail with the written defect map.
Prepare a surface that reveals damage
Inspect a clean, dry sail in even light with enough room to expose it without dragging it across grit. Confirm the sail, boat, date and side before taking photographs. Begin with a full view that shows head, tack and clew, then add a simple orientation marker to every close image. This prevents a convincing close-up from becoming useless when nobody can tell whether it belongs near the leech, a reef point or the center of a panel.
Look at the sail as a shape before concentrating on holes. Note permanent creases, distortion, uneven edge curves, local fullness and places where one panel no longer lies like its neighbors. Turn the sail over and compare both faces. Changes in coating, weave, film clarity or surface texture can be easier to see with light passing across rather than directly onto the cloth. Do not pull hard on a questionable area simply to make a photograph more dramatic.
Follow the load path in a fixed order
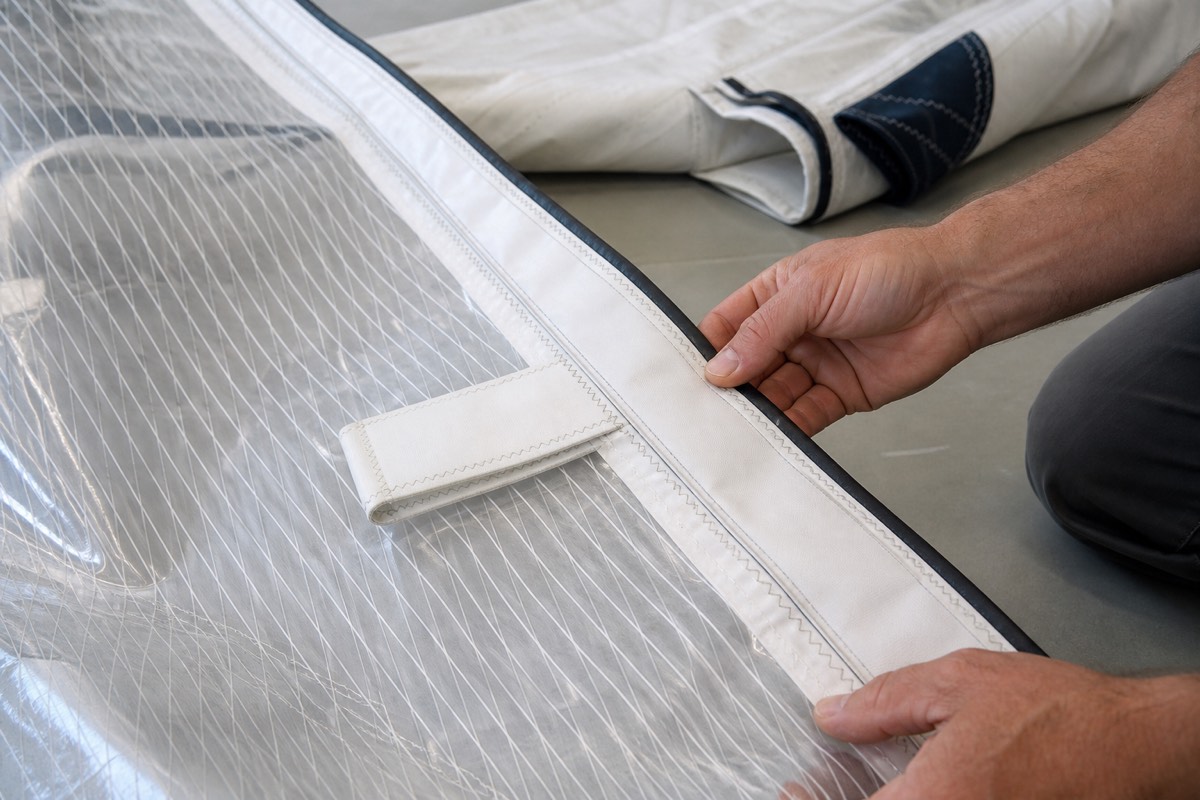
At each corner, inspect the ring or fitting, webbing, reinforcement layers, stitching and the transition into the body cloth. Continue along the luff, leech and foot, noting chafe, broken thread, enlarged needle holes and edge tape separation. Visit every reef tack and clew, then trace each seam from one edge to the other. A small symptom beside a load point matters differently from the same-sized mark in an unloaded cosmetic area, so location belongs in every record.
Sailrite's batten inspection guidance highlights pockets, elastic or retention, broken stitching, missing battens, cracks and sharp ends. Apply that sequence to every batten position. Remove battens only as the sail and pocket system allow, label their order and inspect end caps or other protection. Also check slides, slugs, shackles, bolt ropes, headboards, windows and telltales. Hardware that jams, cuts or moves unexpectedly can create cloth damage even when the sail itself began sound.
Classify the next action, not the final diagnosis
Sort findings into monitor, repair before use and professional review. A cosmetic stain with sound cloth is not the same as a puncture, open seam or distorted corner. Measure the visible extent with a ruler in the frame, but photograph beyond the edge of the symptom so the loft can judge surrounding material. If a repair already exists, record its date if known, edge condition, adhesion or stitching and any new wear immediately beside it.
Finish by drying the sail completely and storing it in a clean, dry manner compatible with its material. Sailrite notes that moisture held with dirt can support mildew staining even on synthetic cloth, and it advises following manufacturer cleaning directions. Keep the defect map with the sail bag and send the full set, not selected dramatic images, when requesting advice. A consistent annual sequence makes gradual change visible and helps distinguish isolated damage from broader aging.
BOUNDARY
Do not test structural damage by hoisting it
A torn corner, failing reef point, separated load-bearing seam, damaged bolt rope, cracked batten or suspect attachment requires direct review. An inspection records evidence; it does not prove that an uncertain sail can safely carry load.
Carry the finding into diagnosis and repair
Sort the photographs with the wear diagnostic, prepare compatible materials from the repair kit guide, and check whether cloth specification changes the repair question. Inspection rarely ends at the cloth. A sail that passes every stitch and panel check can still fail where it meets the boat, because the load path runs through the attachment, not the fabric. Halyard knots, sheet bends and fixed loops each dress and seat differently, and each has a point where it slips or breaks. The companion guide to support hitches covers attachments to a support, bends between ropes of unequal diameter, bowline and figure eight loops, and binding knots, with the load paths and the failure point of each. Read it alongside this inspection. Sail inspection ends with a written record: cloth weight, stitch condition, batten pockets, and the date each item was checked. The same discipline applies to any trip that depends on a boat, and the planning notes for seasons in Zone 5 cover walleye, pike and muskellunge dates, size and possession limits, plus border and boat preparation. Read it after the sail check, not instead of it: a sail that fails inspection is a repair job, while a boat that fails preparation is a cancelled trip.
SOURCES AND DATE
Checked 25 August 2026. Sailrite guidance supports the batten, cleaning and storage checks; structural triage remains deliberately conservative.